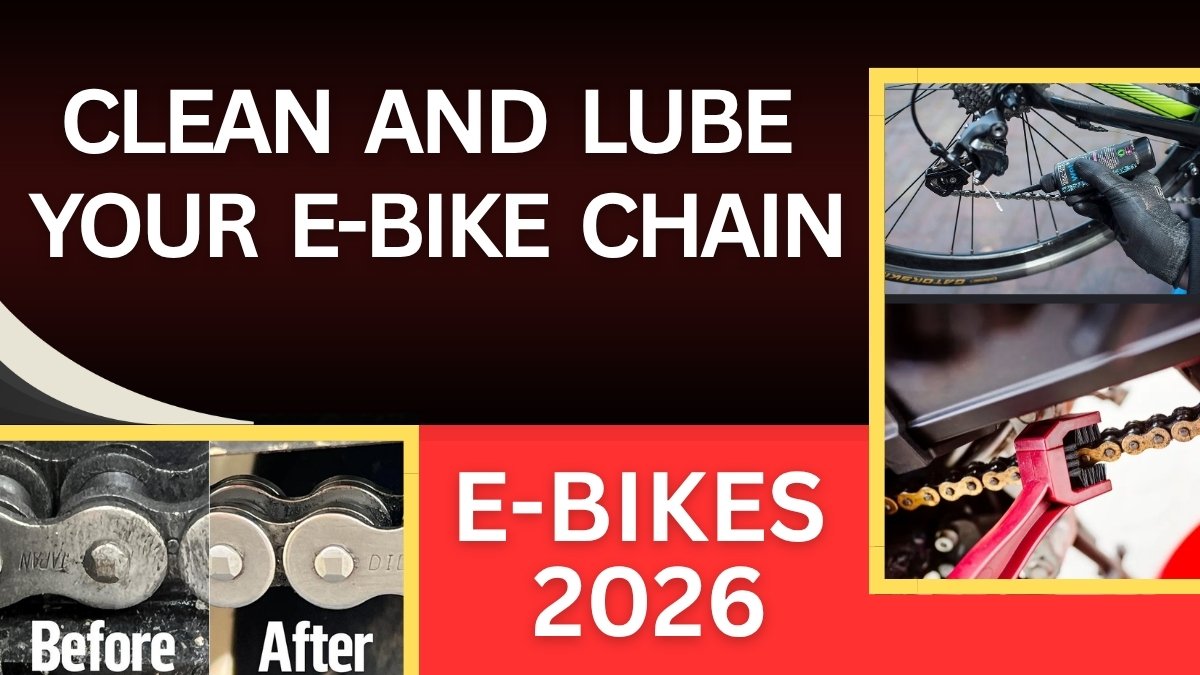
Maintaining a clean and well-lubricated drivetrain is essential for getting peak performance, maximum range, and long-term durability out of your electric bicycle. E-bike drivetrains operate under significantly higher stresses than traditional bicycles. The combination of rider leg power and instant motor torque—often exceeding 85Nm on mid-drive systems—subjects the chain and cassette to extreme tension.
Without routine maintenance, road grit, dirt, and old lubricant combine to form an abrasive paste. This paste grinds down chain rollers, wears out cassette cogs, reduces battery efficiency through drivetrain friction, and leads to costly component replacements. Following a systematic cleaning and lubrication routine ensures smooth gear shifting, quiet operation, and optimal power transfer on every ride.
1. Drivetrain Maintenance Overview
| Maintenance Phase | Primary Goal | Recommended Frequency | Essential Tools & Supplies |
| 1. Degreasing & Scrubbing | Remove gritty paste, dirt, and old oil buildup | Every 100–150 miles (or after wet rides) | Bike-specific degreaser, stiff chain brush, clean rag |
| 2. Rinsing & Drying | Strip residual cleaner and moisture | Immediately after degreasing | Low-pressure water rinse, dry microfiber cloth |
| 3. Precision Lubrication | Protect internal chain pins and rollers from friction | After complete drying | E-bike specific dry or wet chain lubricant |
| 4. Excess Removal | Prevent outer chain surfaces from attracting new dirt | Immediately after lubing | Clean cotton rag |
2. Preparation and Safety Protocols
Before touching your e-bike drivetrain, safety and preparation are paramount.
Power Down the System
Completely turn off the e-bike display and remove the battery if possible. You do not want the motor or pedal-assist system activating unexpectedly while your fingers are near spinning chainrings and cassette cogs.
Secure the Bike
Place the bike on a flat surface using a heavy-duty kickstand, or mount it securely on a bike repair stand. Elevating the rear wheel makes backpedaling the drivetrain smooth and effortless.
Avoid Disc Brake Contamination
Disc brake rotors and pads sit close to the rear cassette. Never spray aerosol cleaners or lubricants directly toward the drivetrain near the rear wheel. Overspray onto brake rotors causes instant pad contamination, squealing, and severe loss of braking power. Shield the rear disc rotor with a clean rag or dedicated rotor cover.
3. Deep Cleaning and Degreasing Procedures
Simply applying fresh oil over a dirty chain drags abrasive grit deeper into the internal chain rivets. A thorough degreasing must happen first.
Step 1: Apply Degreaser
Apply a bike-specific, biodegradable degreaser directly to the chain. Avoid harsh industrial solvents like acetone or gasoline, which destroy rubber seals inside mid-drive motor housings and degrade O-rings.
Step 2: Scrub the Drivetrain Components
- The Chain: Backpedal the crank arms while holding a three-sided chain scrub brush around the lower chain segment. Ensure the bristles penetrate between the inner and outer side plates to dislodge trapped sand.
- The Cassette and Chainring: Use a gear flossing brush or a stiff-bristled notch tool to scrape out built-up grime lodged between the rear cassette cogs and front chainring teeth.
- Derailleur Pulley Wheels: The tiny jockey wheels on the rear derailleur accumulate thick rings of compacted grease. Scrape these clean using a flat tool or rag edge before wiping down.
Step 3: Rinse and Dry Thoroughly
Rinse off the degreaser using a low-pressure hose or a spray bottle filled with clean water. Do not use high-pressure power washers. High-pressure water blasts past bearing seals in the bottom bracket, motor casing, and rear hub, causing internal rust and premature bearing failure.
Once rinsed, thoroughly dry the chain and cassette using a clean microfiber towel. Allow the bike to sit for 10–15 minutes until all moisture inside the chain links has completely evaporated. Applying lube to a damp chain traps water inside the rollers, causing internal rust.
4. Selecting the Right E-Bike Chain Lube
Not all bicycle lubricants are created equal. E-bikes benefit greatly from lubricants formulated specifically for high-torque applications.
Dry Lube Options (Best for Arid, Dusty Conditions)
Dry lubes apply wet but dry to a wax-like or thin film. They do not attract dust and sand, keeping your drivetrain clean in dry environments. However, they wash off easily in rain or puddles and require more frequent reapplication.
Wet Lube Options (Best for Rain, Mud, and Winter)
Wet lubes are thicker, water-resistant oils designed to stay on the chain through heavy rain and mud. While highly durable, they attract dirt quickly and require more thorough cleaning sessions.
E-Bike Specific Synthetic Lubes
These formulas contain extreme-pressure (EP) additives (such as PTFE or ceramic particles) designed to withstand the crushing shear forces exerted by electric motors.
5. Precision Application and Wiping Excess
Proper application technique ensures the lubricant reaches where it is actually needed: inside the rollers and pins, not on the outside plates.
Step 1: Apply One Drop per Roller
Position the tip of the lube bottle directly over the lower section of the chain. Slowly rotate the pedals backward while applying one single drop of lubricant onto every individual chain roller. Avoid flooding the chain by squeezing the bottle continuously while spinning the cranks rapidly.
Step 2: Allow Penetration
Once every link has received a drop, backpedal the drivetrain for 30 to 60 seconds. This rotation allows capillary action to draw the liquid lubricant deep inside the internal bushings and pins where metal-on-metal friction occurs. Let the bike sit for 5 to 10 minutes so solvent carriers in the lube can evaporate.
Step 3: Wipe Off ALL Excess Lube
This is the step most beginners skip. The outside of your e-bike chain should be virtually dry to the touch.
Grasp the lower section of the chain with a clean, dry cotton rag and rotate the pedals backward several times. Wipe down the outer side plates, inner side plates, and top surfaces completely. Any lubricant left on the exterior of the chain serves no friction-reducing purpose—it only acts as a magnet for road dust, dirt, and grit.
6. Maintenance Intervals and Wear Monitoring
Recommended Cleaning Frequency
Clean and lube your chain every 100 to 150 miles for normal road riding, or immediately after every ride in heavy rain, mud, or coastal salt air.
Measuring Chain Stretch
Due to motor torque, e-bike chains stretch significantly faster than standard bicycle chains. Use a digital or manual chain checker tool every 300 miles. Replace the chain when it reaches 0.5% to 0.75% wear to prevent it from damaging your expensive rear cassette and front chainring.
Conclusion: Long-Term Efficiency
Maintaining your e-bike chain takes less than fifteen minutes once you master the routine. By keeping your drivetrain clean, dry, and precisely lubricated, you will enjoy smoother shifting, longer component life, and maximum efficiency from your e-bike battery on every journey.