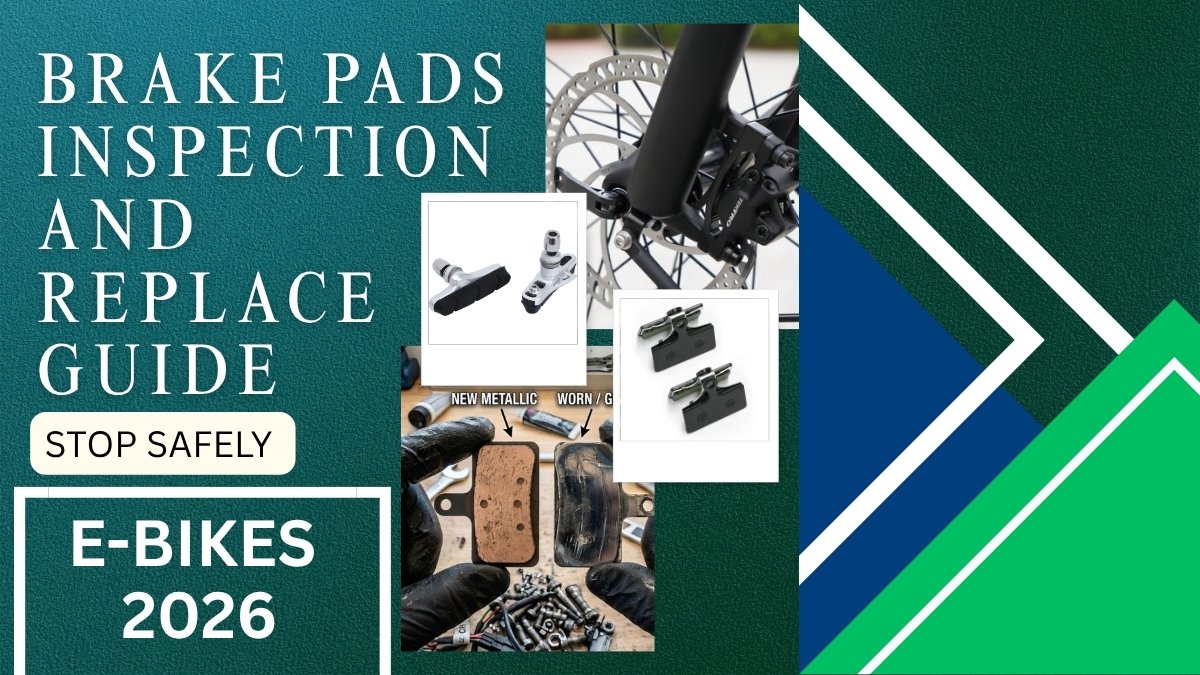
Electric bicycles travel faster and carry significantly more mass than traditional bicycles. The combination of rider weight, motor assistance, and battery weight creates high kinetic energy that relies heavily on your braking system. Because e-bikes subject brake pads to immense thermal friction and rapid mechanical wear, routine inspection and timely replacement of brake pads are fundamental to rider safety and optimal stopping performance.
Whether your e-bike utilizes mechanical disc brakes or hydraulic disc brakes, knowing how to evaluate pad wear and replace friction linings keeps your rides quiet, responsive, and safe.
1. Brake Pad Inspection & Replacement Overview
| Process Step | Primary Objective | Critical Tools / Supplies | Recommended Frequency |
| 1. Visual Inspection | Measure remaining friction material thickness | Flashlight, millimeter gauge or caliper | Every 200–300 miles |
| 2. Pad Removal | Detach old pads safely without contaminating rotors | Needle-nose pliers, hex keys, isopropyl alcohol | As needed (when material is < 1.5mm) |
| 3. Piston Reset | Push hydraulic pistons back into housing to fit thick, new pads | Plastic tire lever or flat-head brake piston tool | During every pad replacement |
| 4. New Pad Installation | Mount fresh pads and secure retaining pin | New organic, metallic, or semi-metallic pads | When pad thickness drops below minimum |
| 5. Bedding-In Process | Transfer an even layer of pad material onto the brake rotor | Safe, flat stretch of road | Immediately after installing new pads |
2. How to Inspect E-Bike Brake Pads for Wear
You should inspect your e-bike’s brake pads every 200 to 300 miles, or immediately if you hear metal-on-metal grinding noises, feel spongy brake lever resistance, or experience diminished stopping power.
Measure Friction Material Thickness
Look inside the brake caliper where the disc rotor passes between the two brake pads. Use a small flashlight to shine light through the caliper body.
Safe Material Thickness
Fresh brake pads feature approximately 3mm to 4mm of friction compound attached to a metal backing plate.
Replacement Threshold
When the remaining friction material wears down to 1.5mm or less (about the thickness of a standard dime), it is time to replace the pads.
Critical Wear Point
If the friction material wears down to under 1.0mm, or if the metal spring clip contacts the rotor, stop riding immediately. Riding on bare metal backing plates will ruin your disc brake rotors instantly.
Check for Uneven Wear and Oil Contamination
Inspect the surface of the pads for uneven taper wear, which indicates misaligned caliper bodies. Additionally, check for oil or hydraulic fluid contamination.
Contaminated pads look dark, shiny, or wet, and they produce a high-pitched squeal accompanied by a severe loss of stopping power. Contaminated pads cannot be saved and must be replaced.
3. Choosing the Right Replacement Brake Pad Compound
When purchasing new brake pads, select a friction compound that matches your riding environment and stopping needs:
Organic / Resin Pads
Composed of glass, rubber, and organic fibers bound by resin. They offer quiet operation and strong initial bite from cold starts, but wear out faster under high heat and heavy e-bike loads.
Sintered / Metallic Pads
Made from metallic particles fused together under high pressure. They handle extreme temperatures, offer long service life, and excel in steep, wet, or muddy conditions. However, they are noisier and take longer to warm up.
Semi-Metallic / Ceramic Pads
Combine the smooth, quiet performance of organic pads with the heat resistance and durability of metallic pads. They serve as an excellent, balanced upgrade for high-speed Class 3 e-bikes.
4. Step-by-Step Guide to Replacing E-Bike Brake Pads
Replacing brake pads is a straightforward mechanical procedure. Work on one caliper at a time so you always have an assembled reference brake if needed.
Step 1: Secure the E-Bike and Remove the Wheel
Power off your e-bike completely and remove the battery to prevent accidental motor engagement. Secure the bike in a work stand or turn it upside down on a soft mat. Loosen the wheel axle nuts or quick-release skewer, and carefully lift the wheel out of the frame dropouts to clear the brake caliper.
Step 2: Reset the Brake Caliper Pistons (Hydraulic Disc Brakes)
As brake pads wear down, hydraulic pistons extend outward to compensate for the lost material thickness. New, thicker pads will not fit over the rotor unless you push these pistons back into their housings.
Insert Piston Tool
Before removing the old pads, insert a flat plastic tire lever or a dedicated piston spreader tool between the old pads.
Retract Pistons Flush
Gently pry the tool to push the old pads and underlying pistons back until they sit flush with the internal caliper body walls. Avoid using sharp metal screwdrivers directly on bare pistons, as ceramic and metal pistons can crack easily.
Step 3: Remove the Retaining Pin and Old Pads
Locate the cotter pin or threaded safety pin holding the brake pads inside the top of the caliper.
- Cotter Pins: If using a cotter pin, use needle-nose pliers to straighten the bent split end, then slide the pin out.
- Threaded Pins: If using a threaded pin, use the appropriate Allen key (usually 2.5mm or 3mm) to unscrew it.
- Extract Pads: Carefully slide out the old brake pads along with the metal H-spring clip positioned between them.
Step 4: Clean the Caliper Body
Spray the inside of the caliper body with pure 99% isopropyl alcohol or dedicated automotive brake cleaner. Wipe away built-up brake dust, road grime, and old fluid residue using a lint-free microfiber cloth. Ensure no oil or grease touches the inside of the caliper.
Step 5: Install the New Brake Pads
Take your new brake pads and place the metal H-spring clip between them, aligning the pin holes on both pads with the spring loop.
- Pinch the new pads and spring together firmly with your fingers, avoiding any skin contact with the fresh friction material surface.
- Slide the pad sandwich into the caliper slot until the pin holes align with the caliper housing holes.
- Reinsert the retaining pin and either bend the cotter pin end securely or tighten the threaded pin to manufacturer torque specs.
Step 6: Reinstall the Wheel and Check Alignment
Reinsert the wheel into the frame dropouts, ensuring the disc rotor slides smoothly between the new pads. Tighten your wheel axle to proper specification. Squeeze the brake lever a few times to auto-adjust the hydraulic pistons against the new pad thickness.
5. The Bedding-In Process (Crucial Final Step)
Installing new brake pads without bedding them in will lead to poor stopping performance, noisy squealing, and premature pad glazing. Bedding-in transfers an even micro-layer of friction material from the new pads onto the steel brake rotor.
Step-by-Step Bedding Procedure
- Find a safe, flat stretch of paved road free of traffic.
- Accelerate the e-bike up to roughly 15 mph (24 km/h).
- Apply the brakes firmly and evenly to slow the bike down to a walking speed (around 3 to 5 mph). Do not come to a complete stop with the brakes held tight, as this creates an uneven lump of pad material on one spot of the rotor.
- Release the lever and repeat this acceleration and slow-down process 15 to 20 times.
Conclusion: Maintaining Peak Stopping Performance
You will feel the braking power increase significantly as the pads mate with the rotor surface. Timely inspection and proper pad replacement preserve your disc rotors and ensure your e-bike stops reliably whenever emergency braking is required.