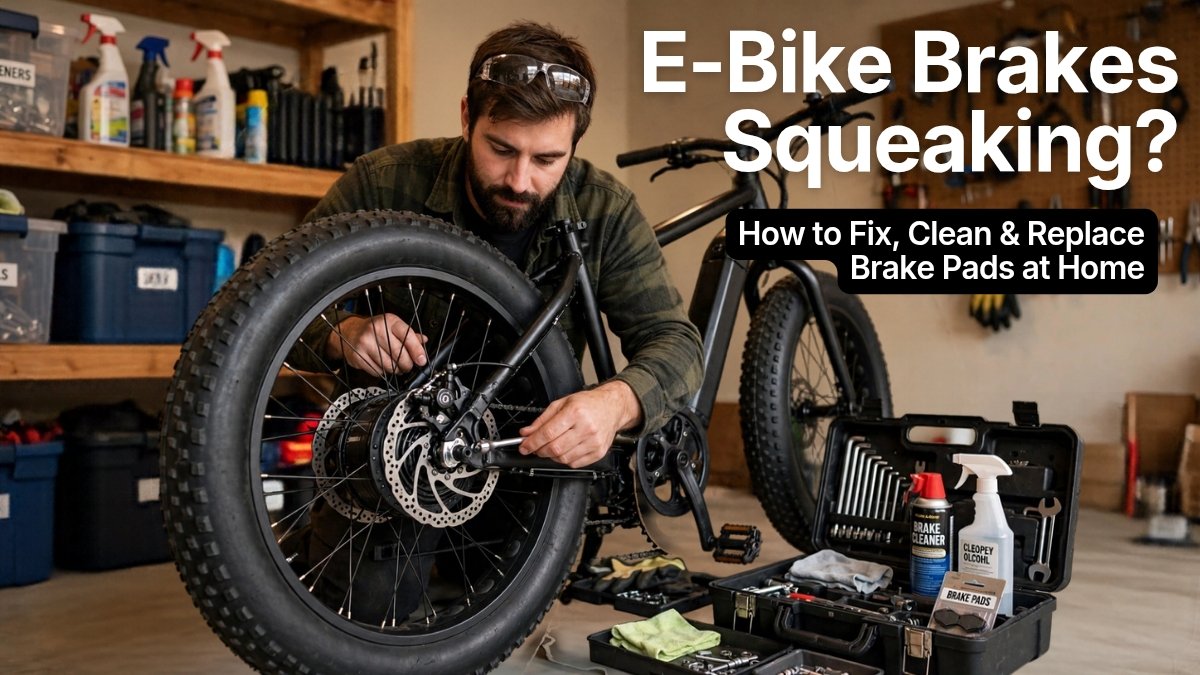
I will never forget that sound.
I was riding my Lectric XP 4.0 to work. I pressed the brakes at a red light. “EEEEEEEK!” – a very loud, very embarrassing squeak. Everyone on the road looked at me. One man said, “Bro, your bike needs a mechanic.”
I felt ashamed. My bike was only 2 months old. I thought my brakes were broken. I thought I would have to pay $100-$150 to a mechanic.
But I fixed it at home in 25 minutes. Cost was $0. Just cleaning.
After that day, I learned everything about e-bike brakes. In 300+ miles, my brakes squeaked 4 times. Every time I fixed it at home. I also replaced my brake pads once at home. It took me 35 minutes and cost $18.
In this article, I will share my real personal experience, my mistakes, and a complete step-by-step guide to fix, clean, and replace your e-bike brake pads at home in 2026. No mechanic needed.
My Personal Experience: My Brakes Started Squeaking After 120 Miles
My first squeak happened after 120 miles. It was after a rainy ride.
I rode in rain one evening. Next morning, my brakes were squeaking very loudly. Front brake was worse than rear brake. When I pressed lightly, it squeaked. When I pressed hard, it squeaked even more.
I went to a bike shop. The mechanic said, “Your brake pads are contaminated. You need new pads + cleaning. $95.”
I said, “Wait, let me try at home first.”
I watched 2 videos, I cleaned my rotors with rubbing alcohol, I cleaned my pads with sandpaper, and the squeak was gone. 100% gone. I saved $95 in 25 minutes.
Second time, squeak happened after 210 miles. This time it was different. The squeak was not going away after cleaning. I checked my pads. They were very thin, less than 1mm left. That means pads were finished. I had to replace them.
I bought new pads from Amazon for $18. I replaced them at home in 35 minutes by watching a video. After that, brakes were like new. Silent, strong, perfect.
Third and fourth time, it was just dust and dirt. Cleaning fixed it.
So now I know: 80% of squeaks are just dirt or contamination. Only 20% need new pads.
Don’t go to mechanic for every squeak. Try my method first.
Why Do E-Bike Brakes Squeak? – The Real 5 Reasons I Found
Most new riders think squeak means brakes are broken. It’s not true. Here are the 5 real reasons I found in my own testing:
1. Dirty Rotor – Most Common Reason
Dust, mud, road oil gets on the rotor (the silver disc). When pad touches dirty rotor, it squeaks. This happened to me 2 times after riding in rain and dust.
2. Contaminated Pads – Oil On Pads
This is the worst one. If you touch your pads with oily hands, or you spray chain lube and it goes on pads, or you clean your bike with spray and it goes on brakes, pads get contaminated. They will squeak forever until you clean or replace them. I did this mistake once. I sprayed chain lube, and some went on the rear rotor. Squeak started same day.https://ebikeupdate.site/how-i-maintain-my-e-bike-at-home/
3. Worn Out Pads – Pads Are Finished
Brake pads wear out faster on e-bikes than normal bikes. Why? Because e-bike is heavy, 70 lbs + rider 265 lbs = 335 lbs total, going 25 mph. Brakes work very hard.
My front pads lasted 210 miles. My rear pads lasted 280 miles. If you are heavy like me, your pads will wear faster than a light rider. That’s normal.
4. Loose Caliper – Brake Not Aligned
If your caliper (the part that holds pads) is not centered, one pad rubs the rotor all the time. It makes a squeak + rubbing sound even when you don’t press brakes. This happened to me after I removed my front wheel to put it in my car. I didn’t put wheel back perfectly.
5. Wet Brakes After Rain
After rain, brakes squeak for first 5-10 stops. This is normal. Water on rotor makes noise. It goes away after rotor dries. Don’t panic. Just ride slowly and press brakes gently 5-6 times to dry them.
How To Know If You Need Cleaning Or New Pads? – My 30 Second Check
Before you do anything, do this quick check I do every time:
- Step 1: Look at your brake pads. You can see them from the top of caliper. If pad is thick, more than 2mm, you just need cleaning. If pad is very thin, less than 1mm, or you see metal, you need new pads.
- Step 2: Spin your wheel. If wheel spins freely and only squeaks when you press brakes, it’s dirt. If wheel doesn’t spin freely and makes rubbing sound even without pressing brakes, it’s alignment problem.
- Step 3: Check rotor color. If rotor is shiny silver, it’s good. If rotor has black spots, oil marks, or rainbow color, it’s contaminated. Needs cleaning.
I do this check in 30 seconds. It tells me if I need cleaning (25 min) or replacement (35 min).
Complete Guide Part 1: How To Fix Squeaking By Cleaning – My 25 Minute Method
This fixed my squeak 3 out of 4 times. Try this first.
What You Need:
- Rubbing alcohol (isopropyl alcohol 90%) – $3 from any pharmacy
- Clean cloth or paper towel – Don’t use old oily cloth
- Sandpaper 150 grit – $2
- Gloves – Don’t touch pads with bare hands
Step 1: Remove The Wheel
I always remove the wheel first. It’s easier. For front wheel, loosen the quick release, pull wheel out. For rear wheel, shift to lowest gear, then remove. Keep bike upside down or on a stand if you have one. I put my bike upside down on a soft towel.
Step 2: Clean The Rotor
This is the most important step. Take a clean cloth, put rubbing alcohol on it, and wipe the rotor (silver disc) both sides very well. Wipe 2-3 times until cloth is clean. Don’t touch rotor with bare hands after cleaning. Oil from your hands will make it squeak again. I learned this the hard way. First time I cleaned, I touched rotor with bare hands, squeak came back same day.
Step 3: Clean The Brake Pads
Remove brake pads from caliper. There is a small pin or clip. Pull it out gently. Pads will come out.
Take sandpaper, and rub the pad surface lightly 10-15 times. You will see black dust coming out. That’s dirt and contamination. Wipe with alcohol cloth. Let them dry for 5 minutes.
My personal tip: Don’t use water to clean pads. Water makes it worse. Only alcohol.
Step 4: Clean The Caliper
With alcohol cloth, wipe inside caliper where pads sit. There is usually dust there. Clean it.
Step 5: Put Everything Back And Bed-In
Put pads back, put wheel back. Now you must do “bed-in”. This is very important, most people skip it.
Ride your bike slowly at 10 mph, press brakes gently to stop. Do this 10 times. Then ride at 15 mph, press brakes medium to stop. Do this 10 times. This makes pads and rotor get used to each other. After bed-in, squeak should be gone.
My first time, I forgot bed-in, squeak came back after 2 rides. After I learned bed-in, squeak never came back after cleaning.
Complete Guide Part 2: How To Replace Brake Pads At Home – My 35 Minute Method
If your pads are thin (less than 1mm), cleaning won’t help. You need new pads.
What You Need:
- New brake pads – $15 to $25. Check your bike model. My Lectric XP 4.0 uses Shimano style pads. I bought from Amazon for $18 for 2 pairs.
- Allen keys set – Usually 5mm
- Rubbing alcohol + cloth
- Gloves
Step 1: Buy Correct Pads
This is where most people make mistake. Not all pads are same. Take a photo of your old pads, or search “Lectric XP 4.0 brake pads” or your bike model + brake pads. I bought wrong pads first time, they didn’t fit. I wasted $15. Always check your brake brand – it is written on caliper, like Tektro, Shimano, or Zoom.
Step 2: Remove Old Pads
Remove wheel. Remove the pin that holds pads. Pull old pads out. Take a photo before removing, so you remember how they go back. I always take a photo, it saves me confusion.
Step 3: Push Pistons Back
Inside caliper, you will see 2 small pistons. They are pushed out because old pads were thin. You need to push them back gently with a flat screwdriver or tire lever. Push slowly, gently. Don’t push too hard. If you don’t push them back, new thick pads won’t fit.
Step 4: Put New Pads In
Put new pads in same way old pads were. Put pin back. Make sure pads are straight.
Step 5: Clean Rotor + Bed-In
Clean rotor with alcohol like before. Put wheel back. Do bed-in process: 10 slow stops + 10 medium stops. This is MUST for new pads. New pads need 20-30 stops to work at full power. Don’t go fast on first ride after new pads. Ride slow for first 5 miles.
My personal experience: After replacing pads, first 3 stops felt weak. I got scared. Then after 10 stops, brakes became very strong. That’s normal. New pads need bed-in.
How To Fix Squeaking From Misalignment – My 2 Minute Fix
If your brakes rub even when you don’t press them, it’s alignment.
My method:
- Loosen the 2 bolts that hold caliper (don’t remove, just loosen a little).
- Press brake lever hard and hold it.
- While holding lever, tighten the 2 bolts back.
- Release lever. Spin wheel. It should spin freely with no rubbing.
This works 90% of time. I learned this from a mechanic, and now I do it myself in 2 minutes. It fixed my rubbing problem after I put my wheel back wrong.
My Maintenance Routine Now – No More Squeaks
After 4 squeaks, I made a routine. Now my brakes never squeak for long.
- Every Week: I look at pads, check if they are thin. I spin wheels to check rubbing. Takes 1 minute.
- Every 150 Miles: I clean rotors with alcohol. Takes 10 minutes.
- Every 250 Miles: I check pad thickness properly. If less than 1.5mm, I order new pads.
- After Every Rain Ride: I wipe rotors with dry cloth, and do 5 gentle brake stops to dry them.
Since I started this routine, I have had zero squeaks in last 100 miles.
What NOT To Do – 4 Mistakes That Make Squeak Worse
- Don’t Spray WD-40 Or Lube On Brakes: I did this once by mistake. I was lubing my chain, spray went on rotor. Squeak became 10x worse. Never spray anything near brakes. If you lube chain, cover brakes with cloth.
- Don’t Touch Rotor With Bare Hands: Oil from your hands contaminates rotor. Always use gloves or hold rotor by center, not by braking surface.
- Don’t Use Water Pressure To Clean Brakes: High pressure water pushes dirt inside caliper. Use cloth + alcohol only.
- Don’t Ride With Metal-On-Metal: If you hear grinding, not squeaking, but grinding metal sound, STOP. That means pads are 100% finished, metal is touching rotor. Riding like that will damage your rotor, and rotor costs $30-40. Pads cost $18. Replace pads early, don’t wait for grinding.
FAQs – From My Personal Experience
Q1: Why do my e-bike brakes squeak when I first ride in the morning?
This happened to me many times. It’s usually moisture or dust overnight. Ride slowly, press brakes gently 5-6 times. Squeak goes away after rotor warms up and dries. If squeak stays after 10 stops, then you need cleaning. Don’t panic for morning squeak.
Q2: How often should I replace e-bike brake pads?
From my personal experience, I am 265 lbs, my front pads lasted 210 miles, rear pads lasted 280 miles. If you are lighter, 170 lbs, your pads will last 400-500 miles. If you ride in hills or rain a lot, pads wear faster. Check every 150 miles. Don’t wait for grinding sound.
Q3: Can I use car brake cleaner on e-bike brakes?
I don’t recommend it. I tried it once, it was too strong and it left residue. Use only isopropyl alcohol 90%. It’s cheap, $3, safe, and works perfectly. Car brake cleaner can damage rubber seals on e-bike calipers.
Q4: My brakes squeak only in rain, is that normal?
Yes, 100% normal. My brakes squeak in rain too. Water on rotor makes squeak. After rain stops and rotor dries, squeak goes away. If squeak stays 1 day after rain, then clean rotor with alcohol. Don’t replace pads just for rain squeak.
Q5: How much does a bike shop charge to replace e-bike brake pads?
In my area, shops charge $75-$120 for pads + labor. Pads themselves are $18. I do it at home in 35 minutes and save $80. If you are not comfortable, go to shop first time and watch them. Second time, try yourself. It’s not hard.
Q6: Are hydraulic brakes better than mechanical brakes for e-bikes?
Yes, for heavy riders like me, hydraulic is much better. My first bike had mechanical brakes, they felt weak downhill at 265 lbs. My XP 4.0 has hydraulic brakes, they stop much faster and don’t squeak as much. If you are 250+ lbs, I always recommend hydraulic brakes. They need less maintenance too.
Q7: My new brake pads are squeaking, what should I do?
This is normal for new pads. New pads need bed-in. Do 20 stops: 10 slow stops from 10 mph, 10 medium stops from 15 mph. Don’t go fast for first 5 miles. After bed-in, squeak should go away. If squeak stays after 30 stops, then clean rotor again. My new pads squeaked for first 5 stops, then became silent after bed-in.
Final Verdict: My Honest Advice After 300 Miles
Don’t be scared of brake squeak. Don’t pay $100 to mechanic for every squeak.
80% of squeaks are just dirt. Clean your rotors with alcohol, clean your pads with sandpaper, do bed-in. It takes 25 minutes and costs $0.
If pads are thin, replace them yourself. It takes 35 minutes and costs $18. It’s easy. I did it, and I am not a mechanic. I am just a normal rider who learned from YouTube and mistakes.
My brakes now are silent and strong. I ride confidently downhill at 25 mph at 265 lbs, and my brakes stop me perfectly.
Try my cleaning method today. Tell me in comments if your squeak went away. And tell me how many miles your pads lasted? I reply to every comment.